How To Create A Print Ready PDF File Using Adobe Illustrator
This article will explain how to export a print ready PDF file using Adobe Illustrator. This video was made using Adobe Illustrator CS5, but it essentially the same steps in earlier or later versions.
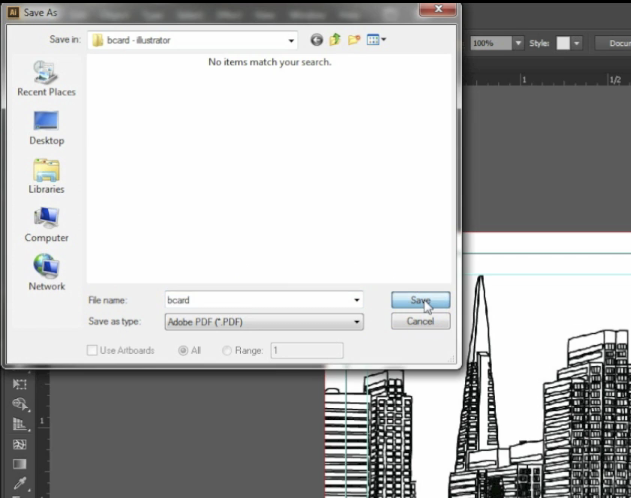
When you have your artwork completed and you are ready to create print files, you will begin by going to the File menu and, Save As.
In the dialogue box select Adobe PDF as the File Type, enter the name of your file and click save.
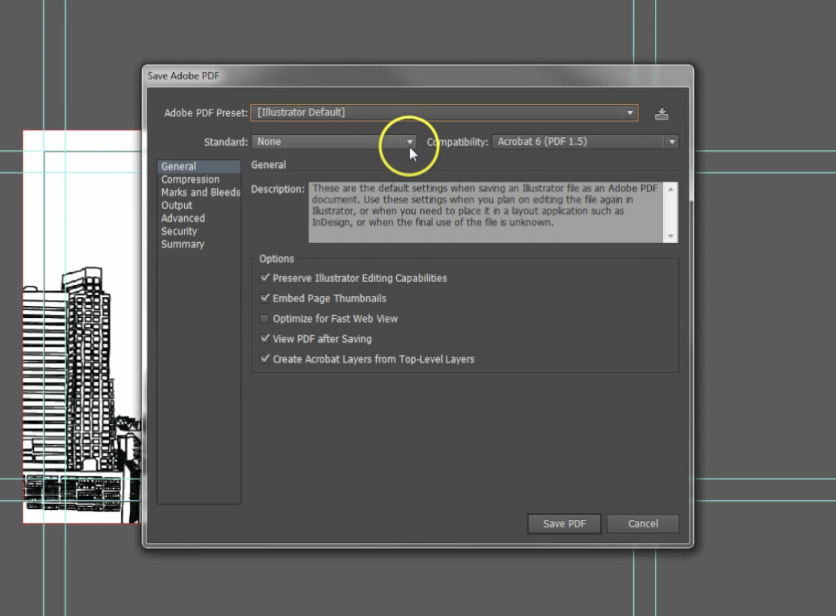
In the Adobe PDF dialogue, under General select Illustrator Default as the Adobe PDF Preset.
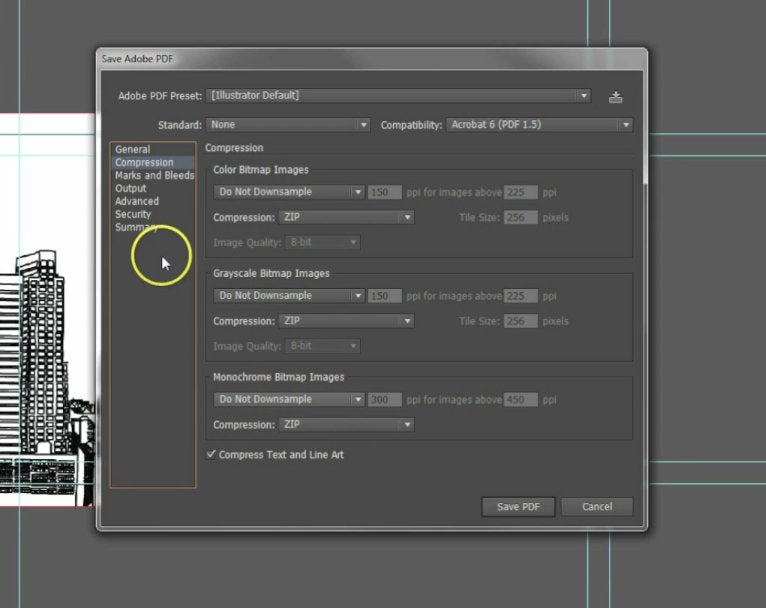
Under Compression, make sure that you are not down-sampling anything. Ensure each dialogue box reads Do Not Down-sample.

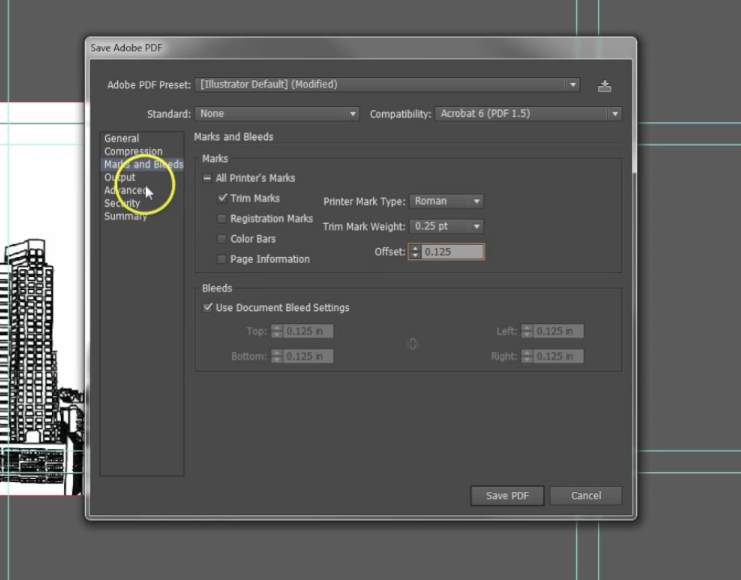
Under the Marks and Bleeds tab, check the Trim Marks box and for Offset enter 0.125. This is so our crop marks lay outside of the bleed. Check that the 'Use Document Bleed Settings' box is checked and that your document is setup with a 0.125" bleed on all edges.
Once you are done, click 'Save PDF'. And there you have it, you now have a print ready PDF setup in Adobe Illustrator.
Leave a comment