How to Embed Images in an Adobe Illustrator File
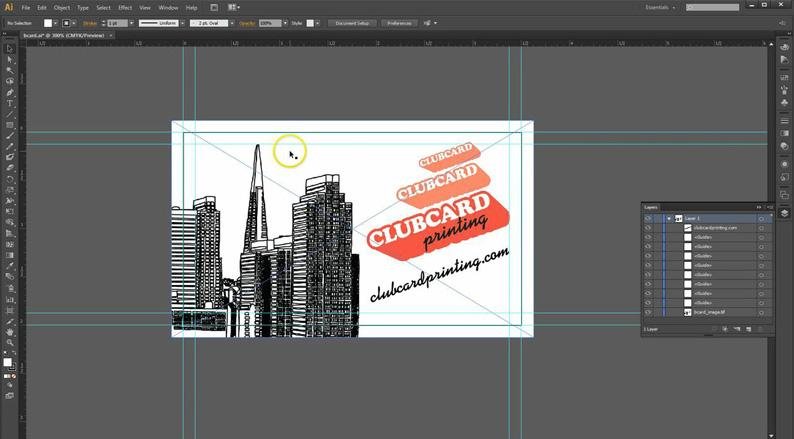
Here I have a print-ready file setup - Now if you are not sure if your file is set up properly, please check our other video on How To Create A Print Ready PDF File Using Adobe Illustrator.
When incorporating images into illustrator, there are two ways to place them:
1. As linked image where the image has to be included along with the illustrator file.
---OR---
As an Embedded image where the image becomes part of the Illustrator file.
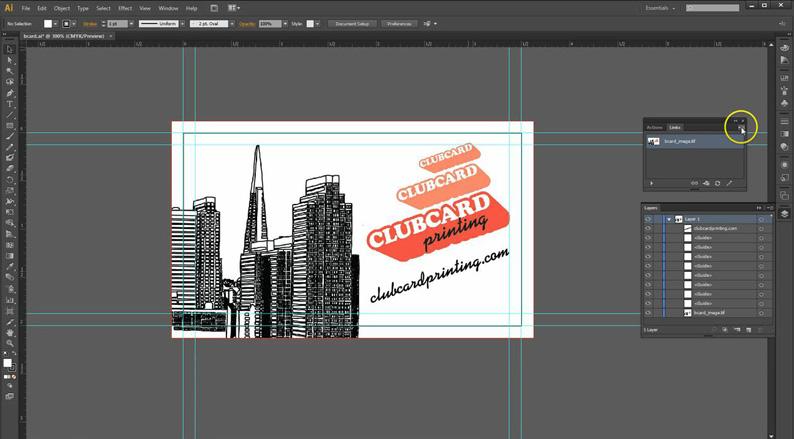
As you can see we have placed our image in the illustrator document.
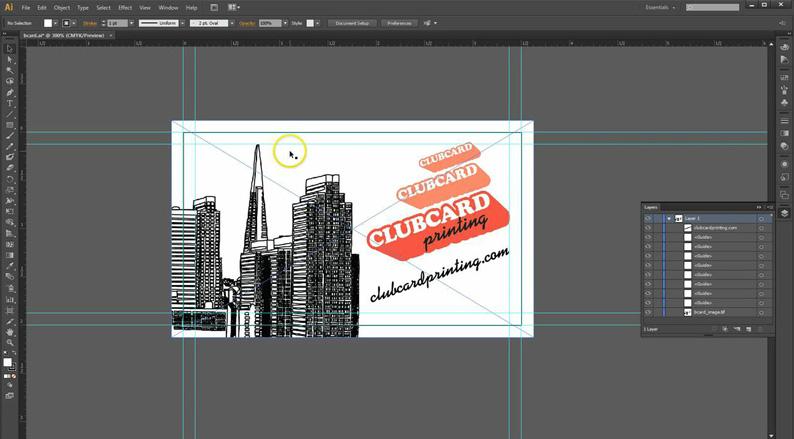
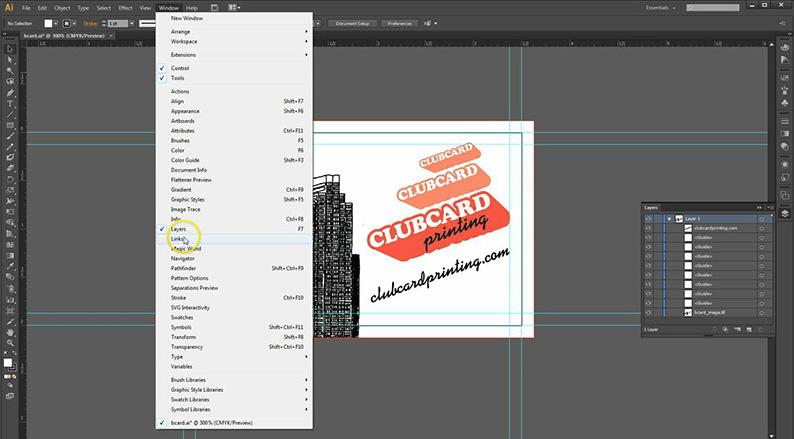
You are going to want to open your “Links Palette”
- Window > Links
The links palette shows all of the images being used in your document.
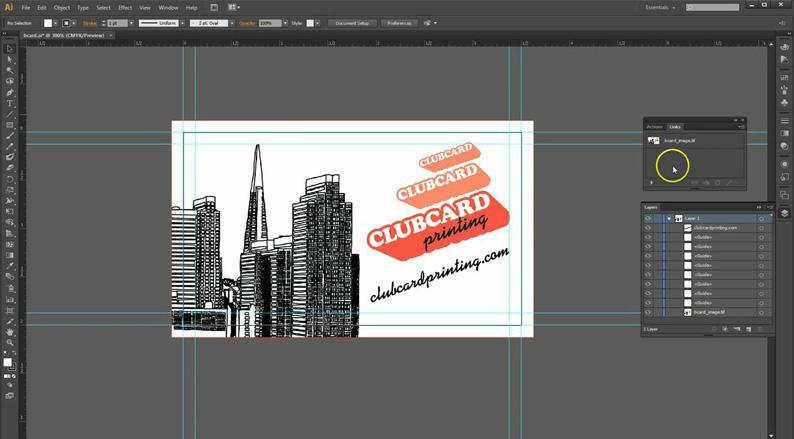
Select your image in the Links Palette, click on the arrow in the top right corner of the palette and select “Embed” from the drop down menu.
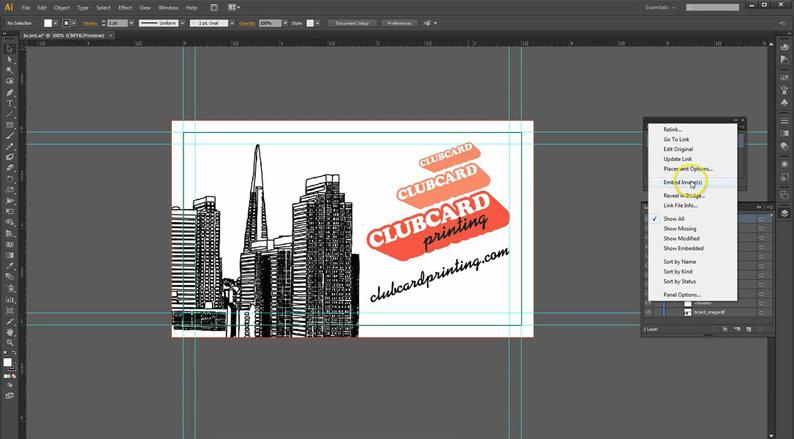
You will now see a box next to your image in the Links Palette.
- This means that the image is embedded within your document.
- Additionally the “Linked Image” in your layers palette has been changed to “Image”.
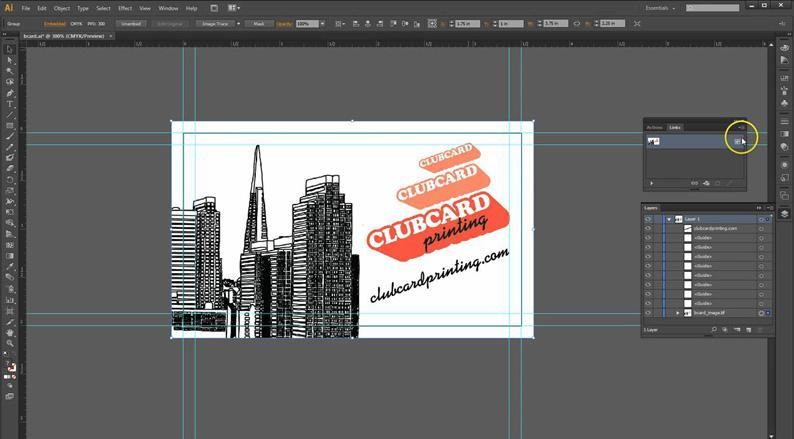
And there you go, now your image is embedded within your illustrator document. We hope this video has been helpful.

Comments
Leave a comment