How To Setup A Die Cut Card in Adobe Illustrator
The very first thing you need to do is create our art board. In this case, we are die-cutting a business card, so our art board is 2” x 3.5" plus an 1/8" for bleed. Make sure your raster effects resolution is set to at least 300dpi and the color mode is in CMYK. Once your file has opened, we are ready to start laying out our artwork.
A good second step is to save our file. Make sure you save your illustrator file so you don’t lose your work. Always good to save your work as often as possible, to ensure you’ve always got an up-to-date version on hand in case of computer problems.
Now you are ready to start setting up your artwork. You can lay out the front of your card however you like. We already had some artwork created, so we dropped it into the design on a layer named “FRONT”. You would setup the card as you normally would for any other card.
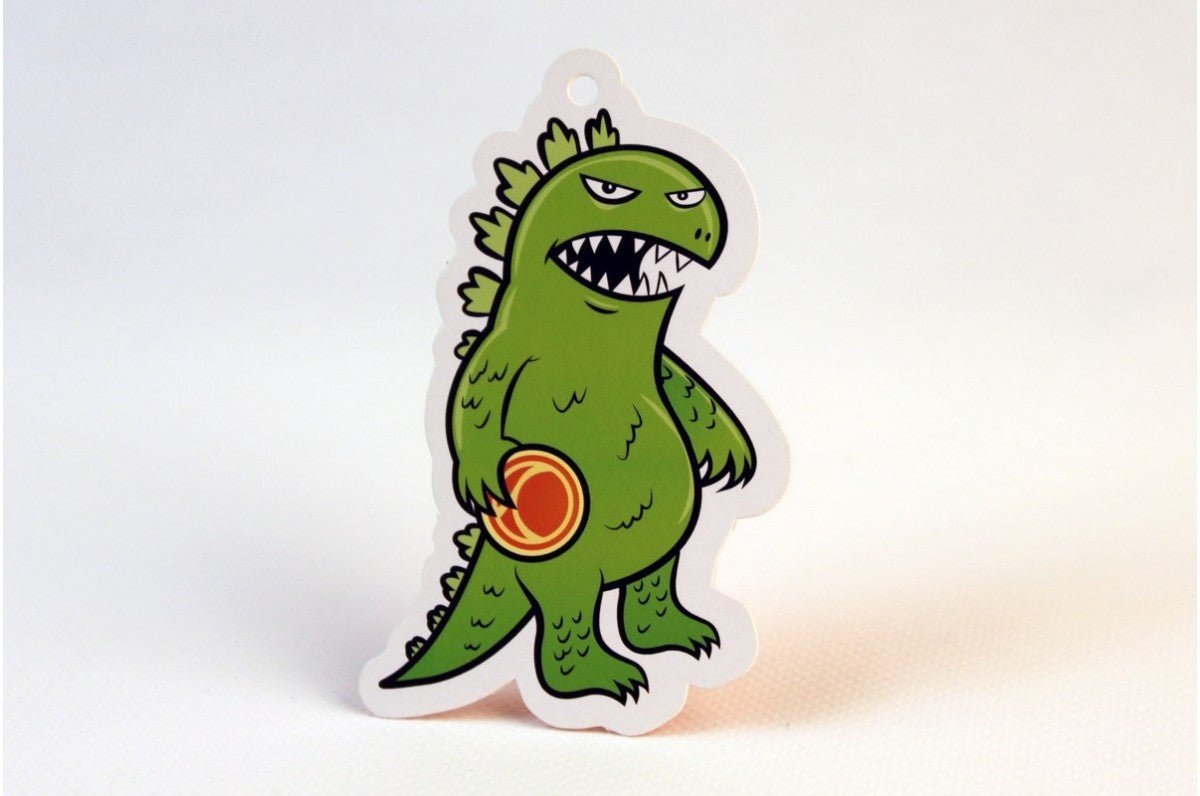
Once we’ve got the front side laid out we need to indicate where the die cut will be. The die cut line (die line) needs to be on a separate layer and set to 100% black ink for the stroke. With our design, we want our Clubcard Peace character in the center of the card. There is no bleed so we need to ensure that there is a 1/8” margin between the artwork and the die line. We have also included a hole so that we can hang this card once it is cut out. Please ensure that any holes are 1/8” in diameter.
Please Note: If you intend on having a bleed on the front side of your cards, that it extends 1.8” past the die line.
Now hide both front layers and create a new layer for the Back side as well as the Die line for the back.
Now that we have the front setup, we'll bring in the die line for the back of the card. Looking at the back of the card you want to keep in mind that the die line shape for the front will be a mirrored shape on the back. Additionally the artwork on the backside will also be mirrored, so you will want to flip the image when setting up the file. To do this you select your object (artwork) and go to the Object menu, select Transform and select reflect and reflect the image vertically.
Now we can bring in the artwork for the back side of our card. You will follow the same steps as the back die line. However, you will want to make sure that you’ve kept all important graphics and text a safe distance (1/8”) away from the die line, as well as extend any bleed 1/8” past the dieline. This is so that if the die cut fluctuates, no critical text or graphics are cut off.
Now we want to save our files for print. You go up to the File menu, select save as, and save as a PDF. We need to export each layer individually and label them correctly. For the front file we will hide all the other layers and export a PDF with only the elements meant to print on the front. We will name the front CMYK layer: Diecut_Front.pdf
For the die line layer, we will show only the layers for the die line. The die line needs to be sent as 100% black, so make sure nothing else is on that layer before you export. Additionally, you only need to submit a die line for the front. The back die line is only used during your file setup to ensure proper placement of your artwork for the back side. We will name the front die line layer Diecut_Front-dieline.pdf
The back side can be saved the same as the front side, except you are going to want to name it: Diecut_Back.pdf.
For more information on the proper PDF settings, please check out our tutorial on “How to Create a Print Ready PDF File in Illustrator”.
And there you go, we’ve got our files all setup for die cut cards and ready to send for print. We hope this video has been helpful.
Leave a comment